- July 9, 2022
- Posted by: Forex Wiki Team
- Category: Free Forex EA
Double Bollinger Band Strategy Review
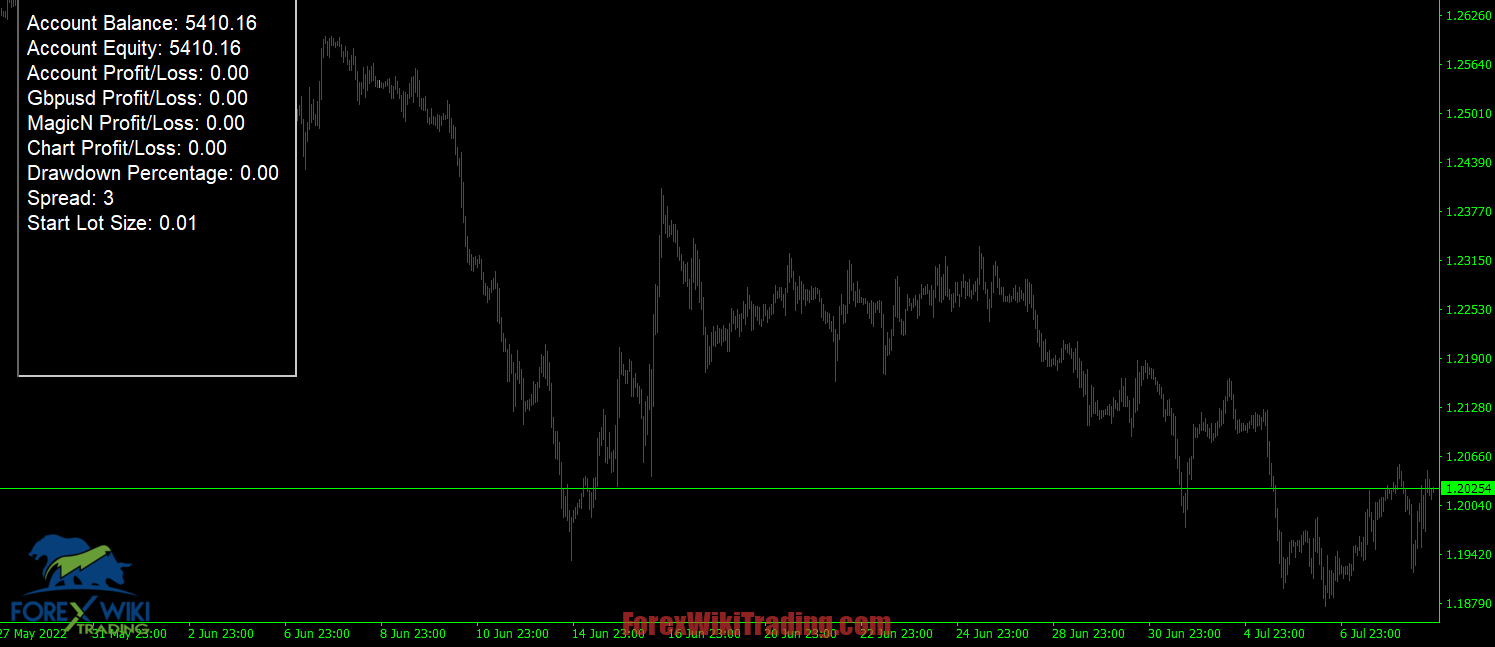
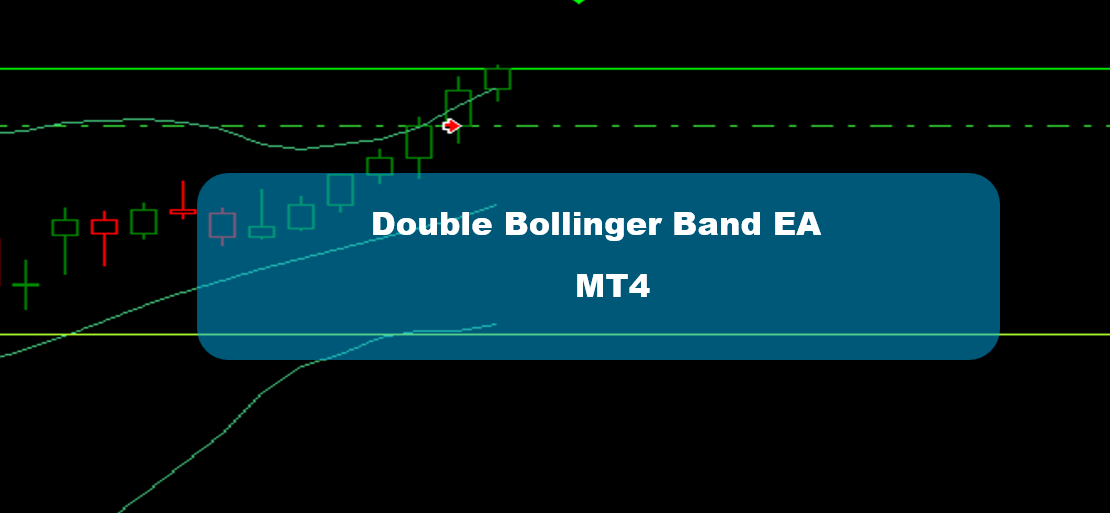
Double Bollinger Band Strategy implanted in this automatic scalping EA. This Expert Advisor requires attention, as it has a high operating frequency. Dark Venus is based on Bollinger Bands, these trades can be managed with some strategies. The EA is able to get a very high percentage of winning trades.
My tests were done with real tick date with 99.90% accuracy, real spread, extra slippage, and high commission.
Optimization experience is required to load the robot.
All settings are external so that everyone can customize the robot as they wish.
The basic strategy starts with a market order against the trend, but you can change it while following the trend in other strategies.
Recommendations
- The recommended timeframe depends on your settings, but you can use M5, M15, and all other timeframes with the appropriate settings.
- The EA can work on EURUSD, GBPUSD, AUDUSD, and USDCAD, but also on others with the appropriate settings.
- Low latency VPS is always recommended.
- The recommended leverage and deposit depend on the settings.
- Learn how the EA works by reading the full user guide.
Best Brokers List
The Double Bollinger Band Strategy works with any broker and any type of account, but we recommend our clients to use one of the top forex brokers listed below:
[ninja_tables id=”26339″]
Double Bollinger Band Strategy Settings
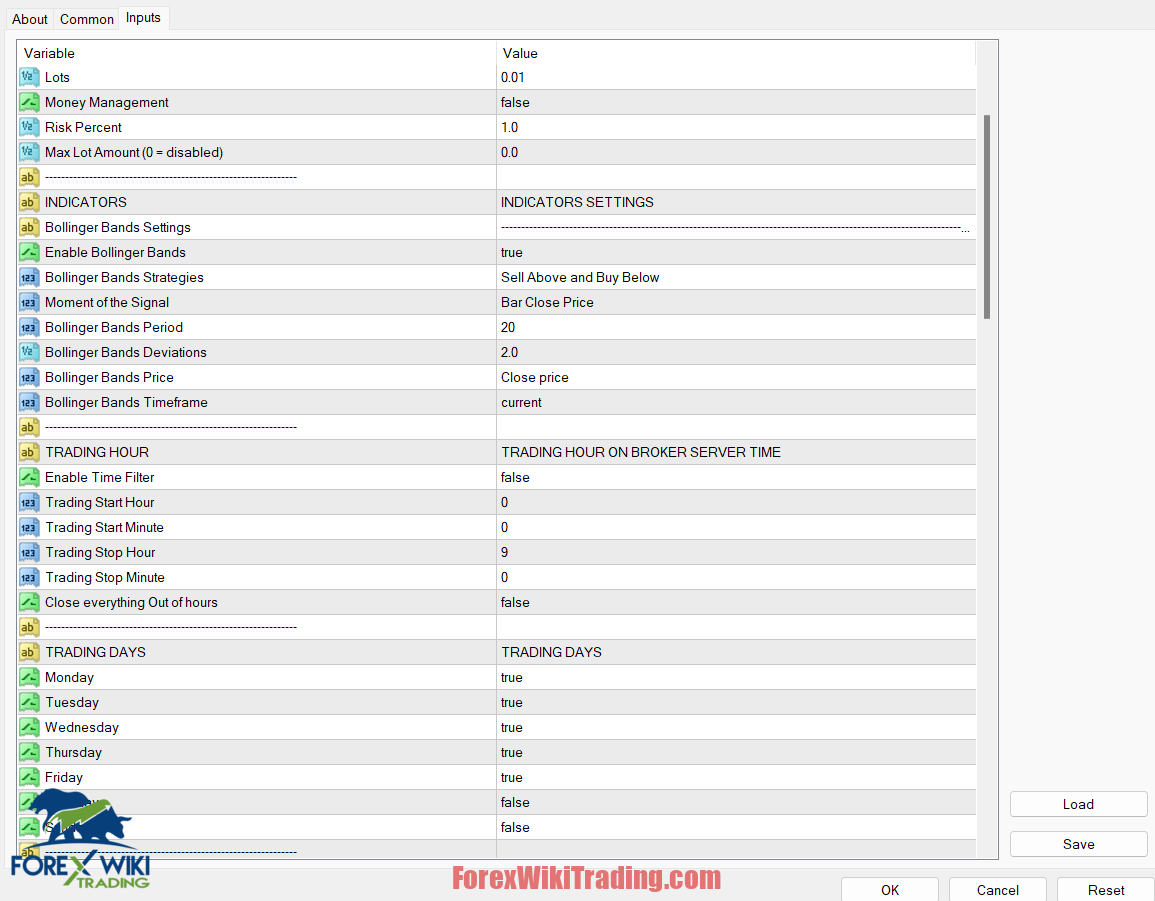
- Magic Number: ID number of the
- Max Spread: maximum spread to
Money Management Settings
- Lots: number of lots, if the money management option is
- Money Management: if true enables the money management
- Risk Percent: if the money management option is enabled, it indicates the risk amount, based on your account
- Max Lot Amount: the EA cannot open a lot larger than this (put 0 for disable)
Indicators Settings Bollinger Bands
- Enable Bollinger Bands: if true, enable the Bollinger Bands indicator
- Bollinger Bands Strategies: This parameter is complex and will be explained in the next section (go below)
- Moment of the signal: “bar close price” The previous bar will be considered for each signal
“Current Price” the current Bar Price (or bid) will be considered for each signal
- Bollinger Bands Period: periods of the Bollinger Bands
- Bollinger Bands Deviations: Standard Deviations for Bollinger Bands Upper and Lower Band
- Bollinger Bands Price: Price to calculate Bollinger Bands indicator
- Bollinger Bands Timeframe: timeframe for applying the Bollinger Bands indicator.
Trading Hour
- Enable Time Filter: if true, enables the time filter (if false, EA can trade during any hour)
- Trading Start Hour: operating start Hour
- Trading Start Minute: operating start minutes
- Trading Stop Hours: operating end Hour
- Trading Stop Minute: operating end minutes
- Close everything Out of hours: close all orders at the end of the
Order Timeframe:
If One Trade Bar is enabled, the expert opens maximum One Trade for bar. if we are on M1 and we select M5, will open 1 trade each 5 minute bar. it will therefore look like 1 trade every 5 bars (from the m1 view)
You can change it from “Order Timeframe”.
With Alternation Opening Bars you can change the order step, from all the bars (0 default) to, for example, a bar yes, a bar no (1) or….. 1 bar yes, 2 bars no (2), etc …
BOLLINGER BANDS
Bollinger Bands Strategies: To understand these, I strongly recommended to apply the Bollinger Bands on the chart, during a Backtest or demo trading
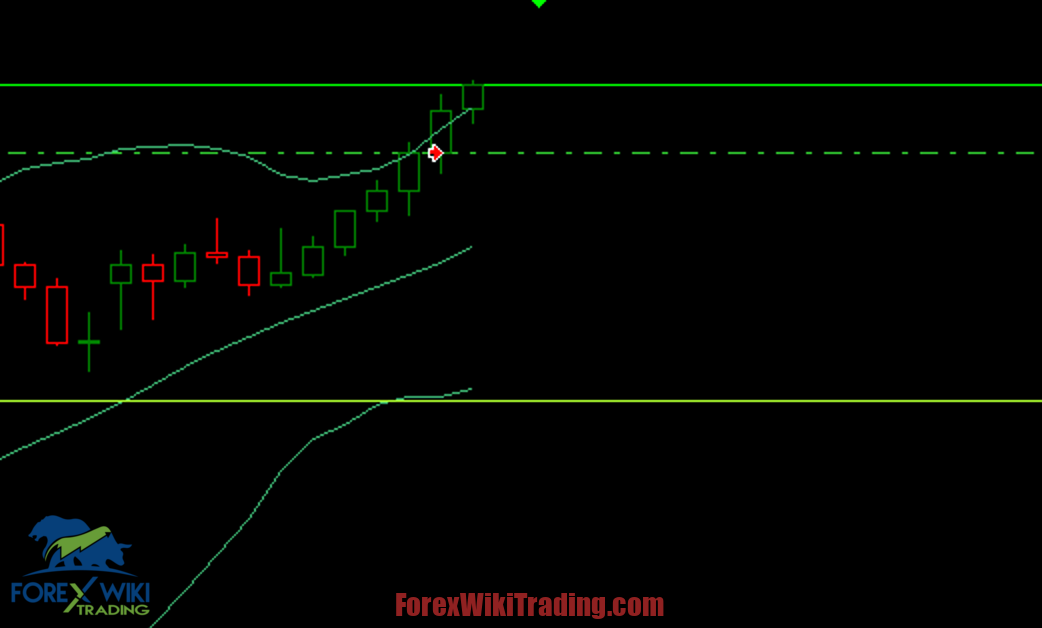
Then: Sell Above and Buy Below
Here you can see, The first order, which was opened as a Sell, as it is the bar overtook the upper band
For the “Buy Above and Sell Below” The rules are reversed, and we would have opened a Buy
For “Up Trend Buy and Down Trend Sell” Only the central band is taken into consideration, with a Trend at the top we open a Buy, with a Trend at the bottom we open a Sell
To determine the trend, we consider the last 8 bars
“Down Trend Buy and Up Trend Sell” the reverse, so for Up trend we go Sell and for Down Trend we go
Buy, this can be useful for Counter Trend instruments
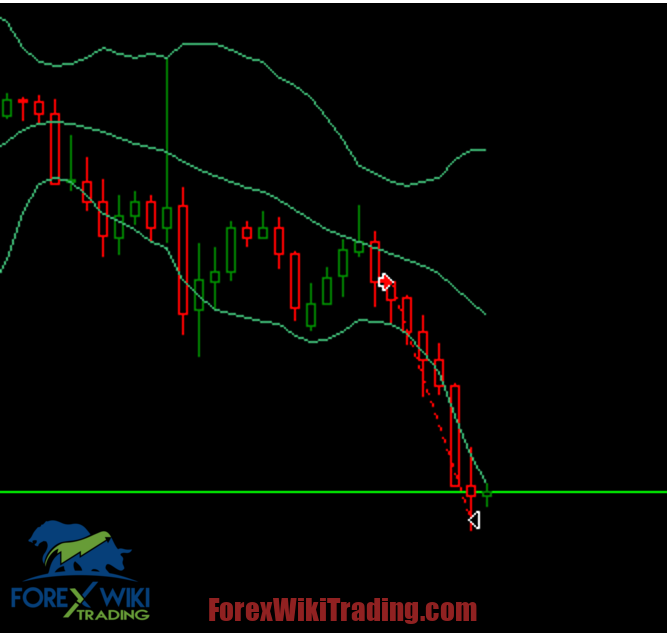
“Cross Up Central Band in Up Trend Buy” This strategy is slightly more complex, it requires 2 conditions
A downtrend of at least 5 bars is required -> So it is also necessary that the central bar is “crossed” by the price, in the direction of the order.
In the image, we see a Short Trend
And we see that the order has been opened after a big red bar that crossed the center band!
Cross Down Central Band in Down Trend Buy: In this case, all is on the opposite side (for a Buy Trade, we need a short trend and short cross) -> also this is for Counter Trend Strategy
FILTERS
All these indicators and settings are filters.
Clarification: all filters, will affect the first order open, grid orders will be opened anyway, on the step and modality defined below. You can also activate these filters in the grid settings, Separately.
Standard time filter Standard Trading Days filter Standard Direction Filter
GRID
Grid Management: Type of Lots management. 4 forms of lots management are available
- Fix: all trades = fix lot
- Lots sum: we sum base lot * Coefficient grid
For example, if I have 1 order buy and grid management is 1, the next buy order will be 0.02, 0.03, 0.04
…
If I have 5 buy orders, the first sell order will be 0.01.
All Lots Sum
we count all the orders.
For example, if I have 1 order buy and grid management is 1, the next buy order will be 0.02, 0.03, 0.04
…
If I have 5 buy orders, the first sell order will be 0.06. all lots sum, buy + sell orders so Martingale
Classic lot multiplier. So if Coefficient Grid Management = 2. First-order 0.01, second-order 0.02,
0.04, 0.08, 0.16…….
You can also use a decimal value for all Grid management coefficients like 1.5, 1.1, etc…..
Min Distance: Distance for Next Order in point, if “One Trade Bar Grid” is false and “Min Distance On Atr” is false. -> otherwise this is the Minimum Distance, for open a grid trade
Min Distance Multiplier, multiply the Minimum Distance by the number of orders, for example, if the min distance is 100, and this multiplier is 1.5, the First grid order will be at 100 points, the second at 15 points, the third at 225 points (150*1.5), the 4° at 337 points (225*1.5)
If “One Trade Bar Grid” is true, we open only on the Open of the new Bar and Min Distance from the previous order. Grid Order Timeframe is about this parameter.
Min Distance On Atr: Min Distance for new grid order calculate on Atr Value * Multiplier. Atr Multiplier: Value for multiply Atr.
Closure on Indicator
This section enables you to close the Trades on the Main Indicator of the EA, in this case, Bollinger Bands
“Close on Opposite Signal” mean, the trade or trades will be close on the opposite signal (of the
the current strategy, so if there is Buy Signal, all Sell trades will be closed Image Example:
This Example uses the “Sell Above and Buy Below” Bollinger Bands Strategy, on the Opposite signal (Buy Below) the Sell trades have been closed
“Close on Central Band” mean the Trades will be closed in the central band, but this “close type” can be used only with “sell above and buy below” and reverse (the second strategy)
For the other 4, it would not make sense
Target Settings
- Close Mode: how to calculate exit
- Average
- Average Point Weighted: based on Lots
For example, we open 1 trade sell for 0.01 at 1.00010. 1 trade sell for 0.03 at 1.00050
So (1.00050*0.03)+(1.00010*0.01) all / (0.03+0.01)
So 150+10= 160, /4 = 40. So 1.00040, when price hit this point we close all trades.
- Breakeven: Close Grid Orders to
If we have 1 order, it is close to taking target, if we have 2 orders or more if Ea sees trades in gain, immediately close.
- FixPoint: Close Grid Orders to Fix Point Take Target. If the take target is 50, it closes all orders to 50 cents (if you have 0.01 as a basic lot)
Close Trade Settings
- Take Target On Atr: when this setting is active, the take target value will not be used, but the calculated Real-Time value based on atr will be.
Example:
Take Target Atr Period: 9 Take Target Multiplier: 2.5
Take Target Timeframe: Current
If we are in M5, Ea creates an Atr Indicator, with 9 periods, in M5. If for example value is 0.00070, it multiplies the value * 2.5 so = 0.00175 this is our New Take Target value for this trade (175 points).
Double Bollinger Band Strategy Free Download
We highly recommend trying the Double Bollinger Band Strategy for at least a week with ICMarket demo account. Also, familiarize yourself with and understand how this system works before using it on a live account.
Get Double Bollinger Band EA

